Articles
How To Install A Dryer Vent
Modified: February 25, 2024
Learn how to properly install a dryer vent with our informative articles. Ensure your dryer operates safely and efficiently with our expert tips and guidance.
(Many of the links in this article redirect to a specific reviewed product. Your purchase of these products through affiliate links helps to generate commission for Storables.com, at no extra cost. Learn more)
Introduction
Welcome to our guide on how to install a dryer vent! Properly installing a vent for your dryer is crucial for ensuring efficient airflow and preventing the build-up of lint, which can be a fire hazard. By following these steps, you can safely and effectively install a dryer vent in your home.
Before we dive into the installation process, it’s important to note that safety should always be your top priority. Make sure to disconnect the power supply to the dryer and wear protective gear, such as gloves and safety goggles, when working with tools. If you’re not confident in your DIY skills, it’s always a good idea to consult a professional for assistance.
Now, let’s get started with the first step: gathering the materials you’ll need for the installation.
Key Takeaways:
- Proper installation of a dryer vent is crucial for safety and efficiency. From gathering materials to testing the system, each step plays a vital role in creating a functional and reliable vent system.
- Regular maintenance and cleaning of the dryer vent are essential for optimal airflow and safety. By following the steps outlined in this guide, you can enjoy peace of mind and efficient laundry drying for years to come.
Read more: How To Install Dryer Vent Hose
Step 1: Gather the Materials
Before you begin the installation process, it’s important to gather all the necessary materials. Here’s a list of what you’ll need:
- Vent duct: This is a flexible or rigid tube that connects your dryer to the vent opening. Make sure to choose a vent duct that is suitable for the type of dryer you have and meets local building codes.
- Elbow pipe: An elbow pipe is used to navigate around corners or obstacles in the wall. It helps to direct the airflow smoothly from the dryer to the vent opening.
- Foil tape: Foil tape is used to secure the joints between the vent duct and the elbow pipe. It provides a tight seal and helps prevent air leaks.
- Screwdriver: You’ll need a screwdriver to attach the vent cover to the exterior wall. Make sure to have the appropriate size and type of screwdriver for the job.
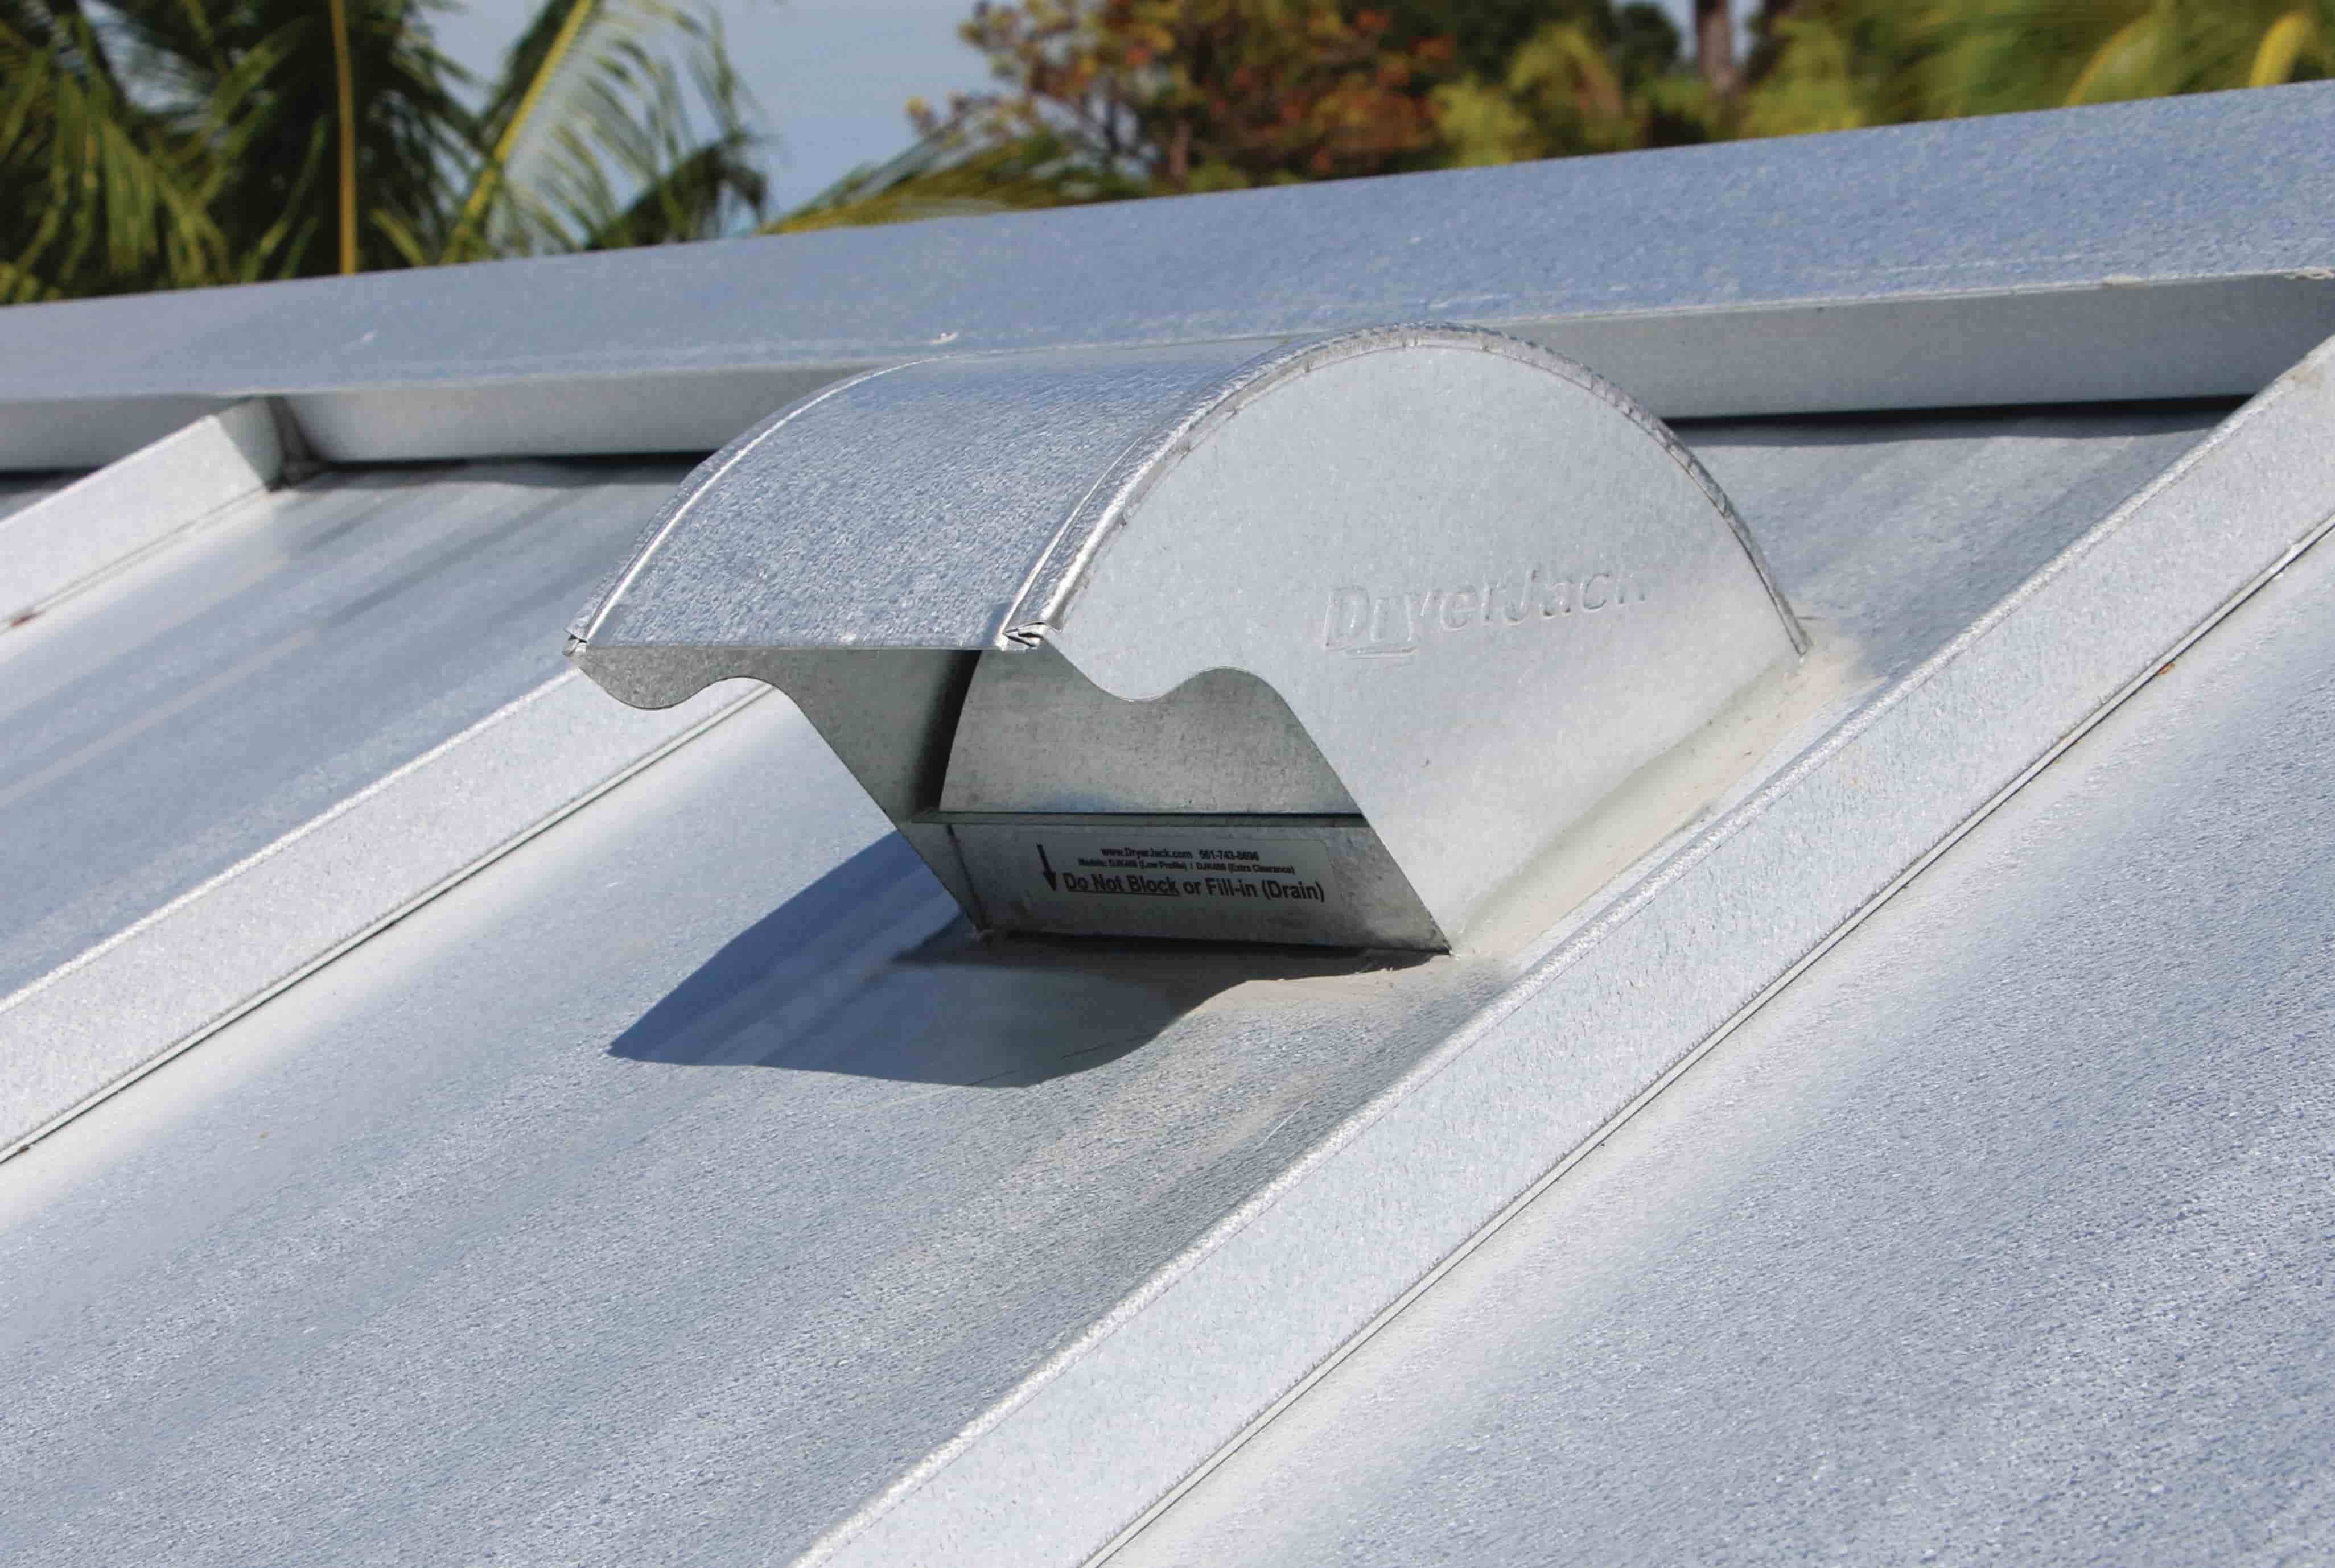
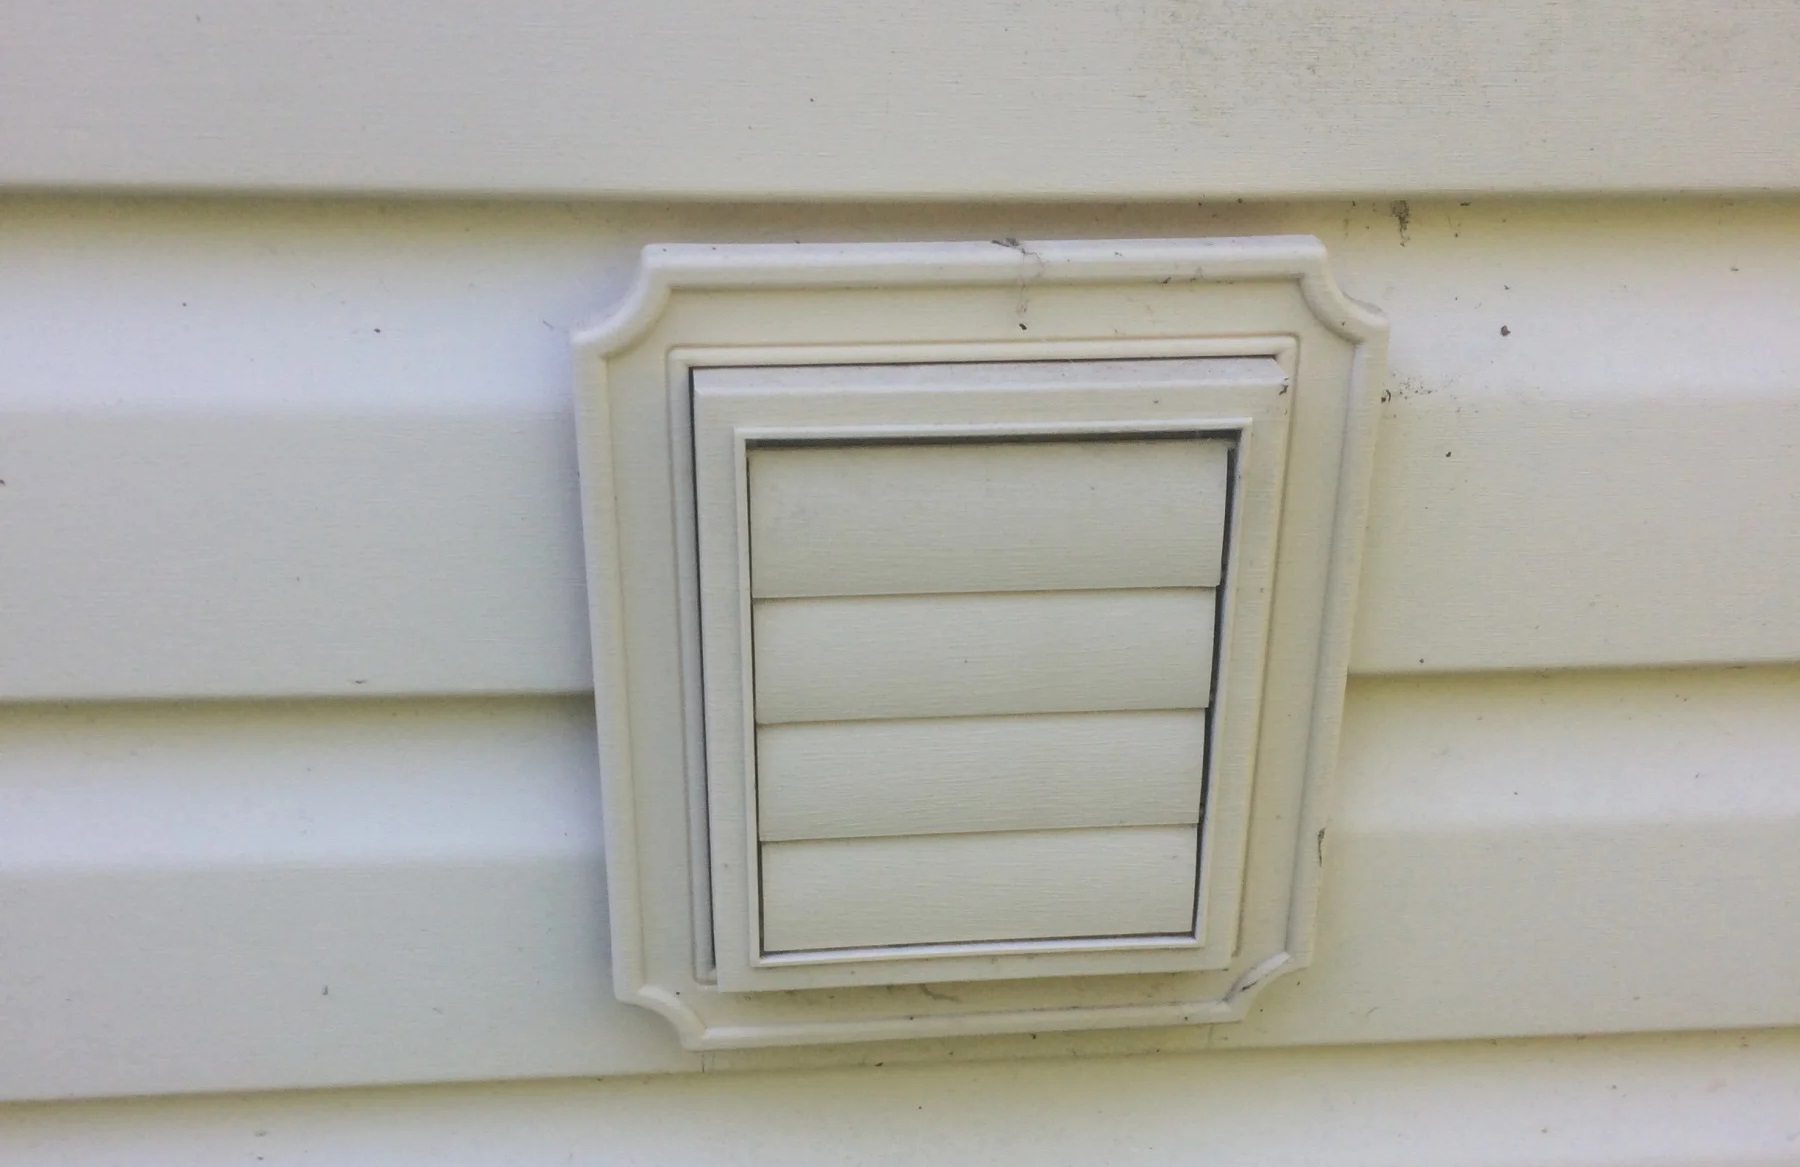
- Vent cover: The vent cover is installed on the exterior wall and acts as a protective barrier against pests, debris, and weather elements. It also helps to optimize airflow.
Once you have gathered all the necessary materials, you’re ready to move on to the next step: choosing a location for the vent.
Step 2: Choose a Location for the Vent
When it comes to choosing a location for your dryer vent, safety is paramount. Here are some important considerations to keep in mind:
- Consider safety guidelines: Ensure that you adhere to safety guidelines set by your local building codes and regulations. These guidelines may specify the minimum distance between the dryer vent and certain obstructions, such as windows, doors, or gas meters.
- Locate an exterior wall close to the dryer: It is usually recommended to install the dryer vent on an exterior wall that is in close proximity to the dryer. This helps to minimize the length of the vent duct, reducing the chances of lint accumulation and ensuring efficient airflow.
- Avoid long and winding vent ducts: Longer vent ducts with multiple bends can hinder the proper airflow from the dryer. It is best to keep the vent duct as short and straight as possible.
Before finalizing the location, check the interior of the wall to ensure that there are no obstructions or electrical wiring that could interfere with the installation. Additionally, make sure that the chosen location is easily accessible for maintenance and cleaning purposes.
Once you have chosen a suitable location for the vent, it’s time to move on to the next step: measuring and marking the opening.
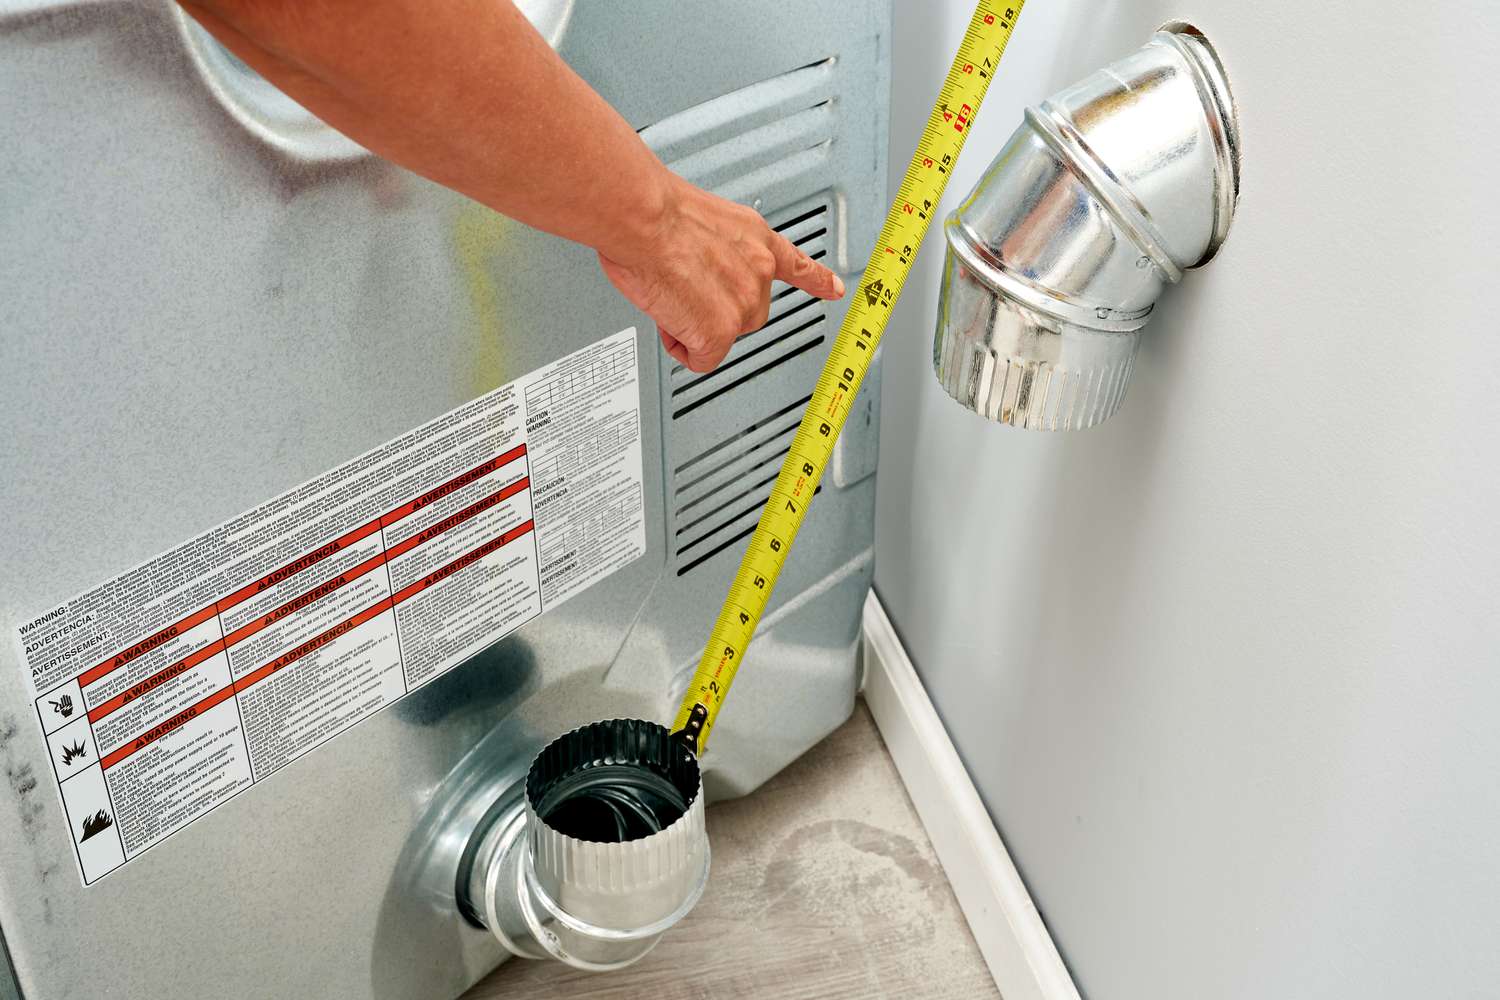
Step 3: Measure and Mark the Opening
Before cutting the opening for your dryer vent, it’s important to accurately measure the diameter of the vent duct and mark the position of the opening on the wall. Here’s how to do it:
- Measure the diameter of the vent duct: Use a tape measure to determine the exact diameter of the vent duct. This measurement will help ensure that the opening is properly sized to accommodate the duct.
- Mark the position of the opening on the wall: With the measurements in hand, carefully mark the position of the opening on the interior side of the exterior wall. It’s crucial to place the mark in an area that allows for easy access and is close to the dryer.
When marking the position, ensure that there is enough space for the vent cover to be attached securely to the exterior wall. It’s also important to take note of any obstructions, such as electrical wiring or plumbing pipes, that may be present in the wall. Avoid cutting through these areas to prevent damage or safety hazards.
Once you have measured and marked the opening, you’re now ready to move on to the next step: cutting the opening in the wall.
Step 4: Cut the Opening
Now that you have measured and marked the position for the opening, it’s time to cut the actual opening in the wall. Follow these steps to ensure a clean and precise cut:
- Use a reciprocating saw to cut the opening: Equip your reciprocating saw with a blade suitable for cutting through the wall material. Carefully follow the marked line and make the necessary cuts to create the opening for the dryer vent.
- Smooth the edges with sandpaper: After cutting the opening, use sandpaper to smooth any rough or jagged edges. This will prevent the duct from getting caught or snagged during installation and improve the overall appearance of the vent.
When using the reciprocating saw, exercise caution and ensure that you’re wearing safety goggles and gloves for protection. Take your time to make precise cuts and periodically check your progress to make adjustments as needed.
Once you have cut the opening and smoothed the edges, it’s time to move on to the next step: installing the vent duct.
When installing a dryer vent, make sure to use aluminum ducting instead of plastic to prevent the risk of fire. It’s also important to properly seal all connections to prevent air leaks.
Read more: How To Install A Recessed Dryer Vent
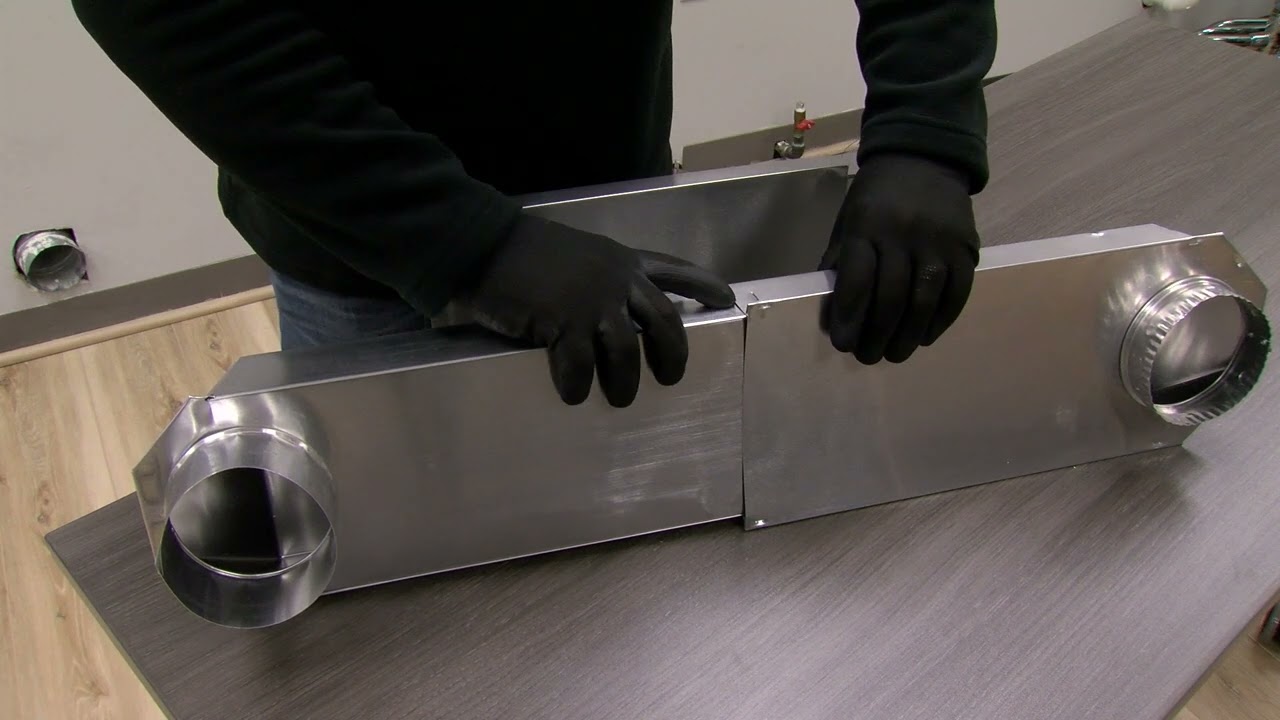
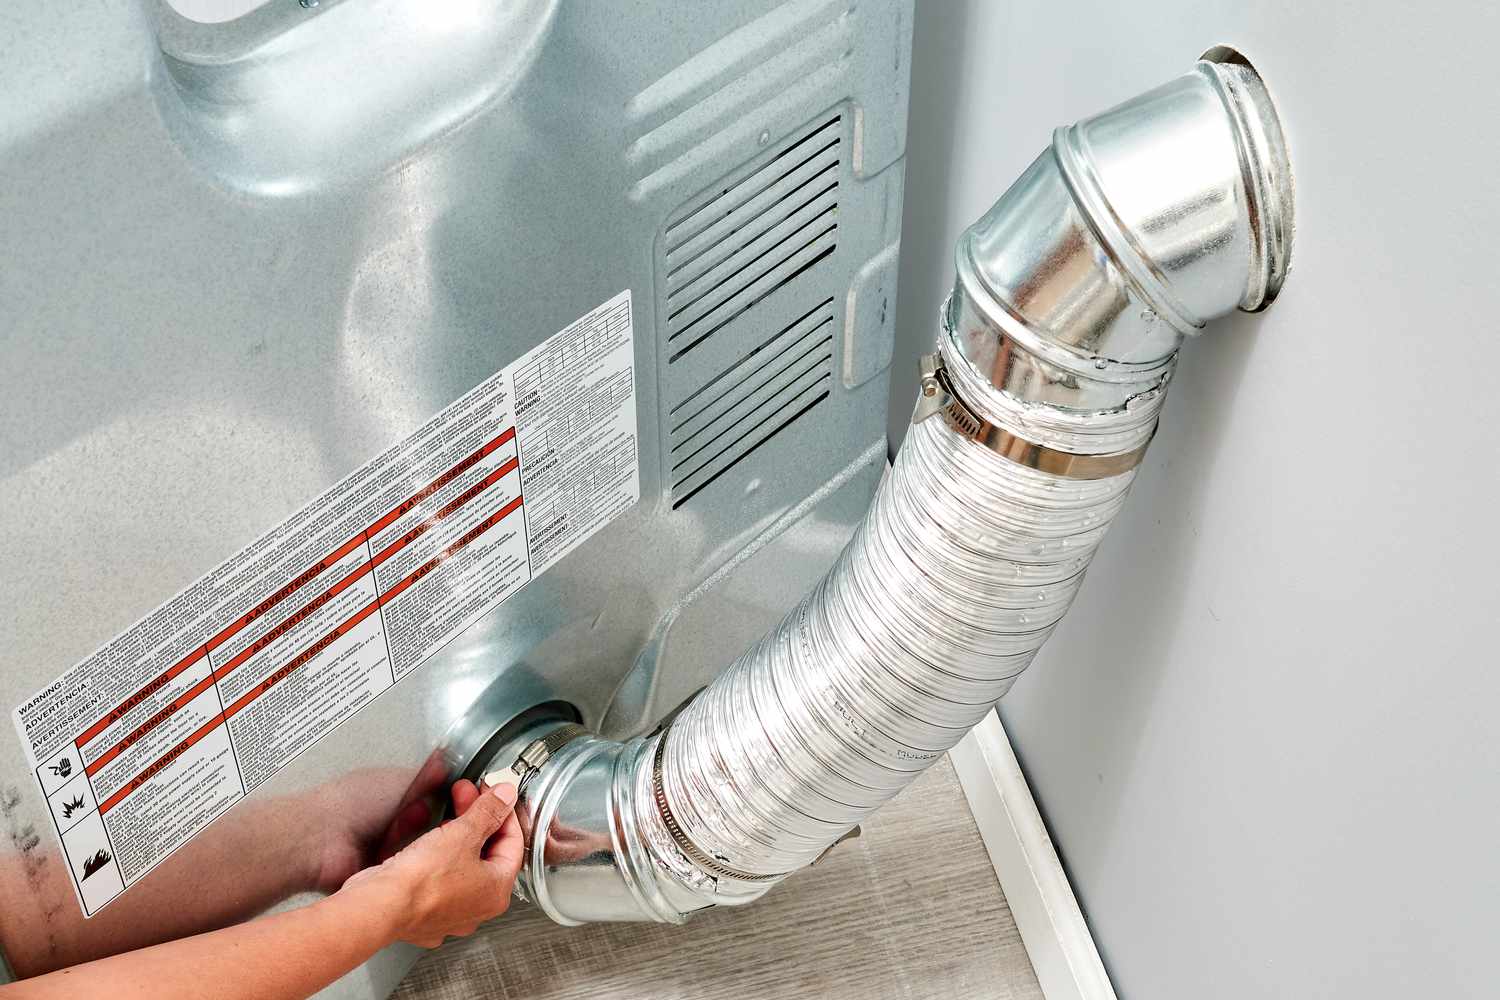
Step 5: Install the Vent Duct
Installing the vent duct is a crucial step in the dryer vent installation process. Follow these steps to ensure a secure and efficient installation:
- Connect the elbow pipe to the vent duct: Take the elbow pipe and attach it to one end of the vent duct. Ensure that it is securely fastened and that the connection is tight.
- Use foil tape to secure the joints: To prevent air leaks and maintain a secure connection, use foil tape to wrap around the joints between the elbow pipe and the vent duct. Ensure that the tape covers the entire circumference of the joint.
- Slide the vent duct into the opening: Carefully slide the vent duct, along with the attached elbow pipe, into the opening in the wall. Make sure the duct is properly aligned with the opening to ensure a smooth airflow.
As you install the vent duct, be mindful of any obstructions or tight spaces that may require adjustments. It’s important to keep the vent duct as straight and free from bends as possible to optimize airflow and prevent lint buildup.
Once the vent duct is securely in place, move on to the next step: securing the vent cover to the exterior wall.
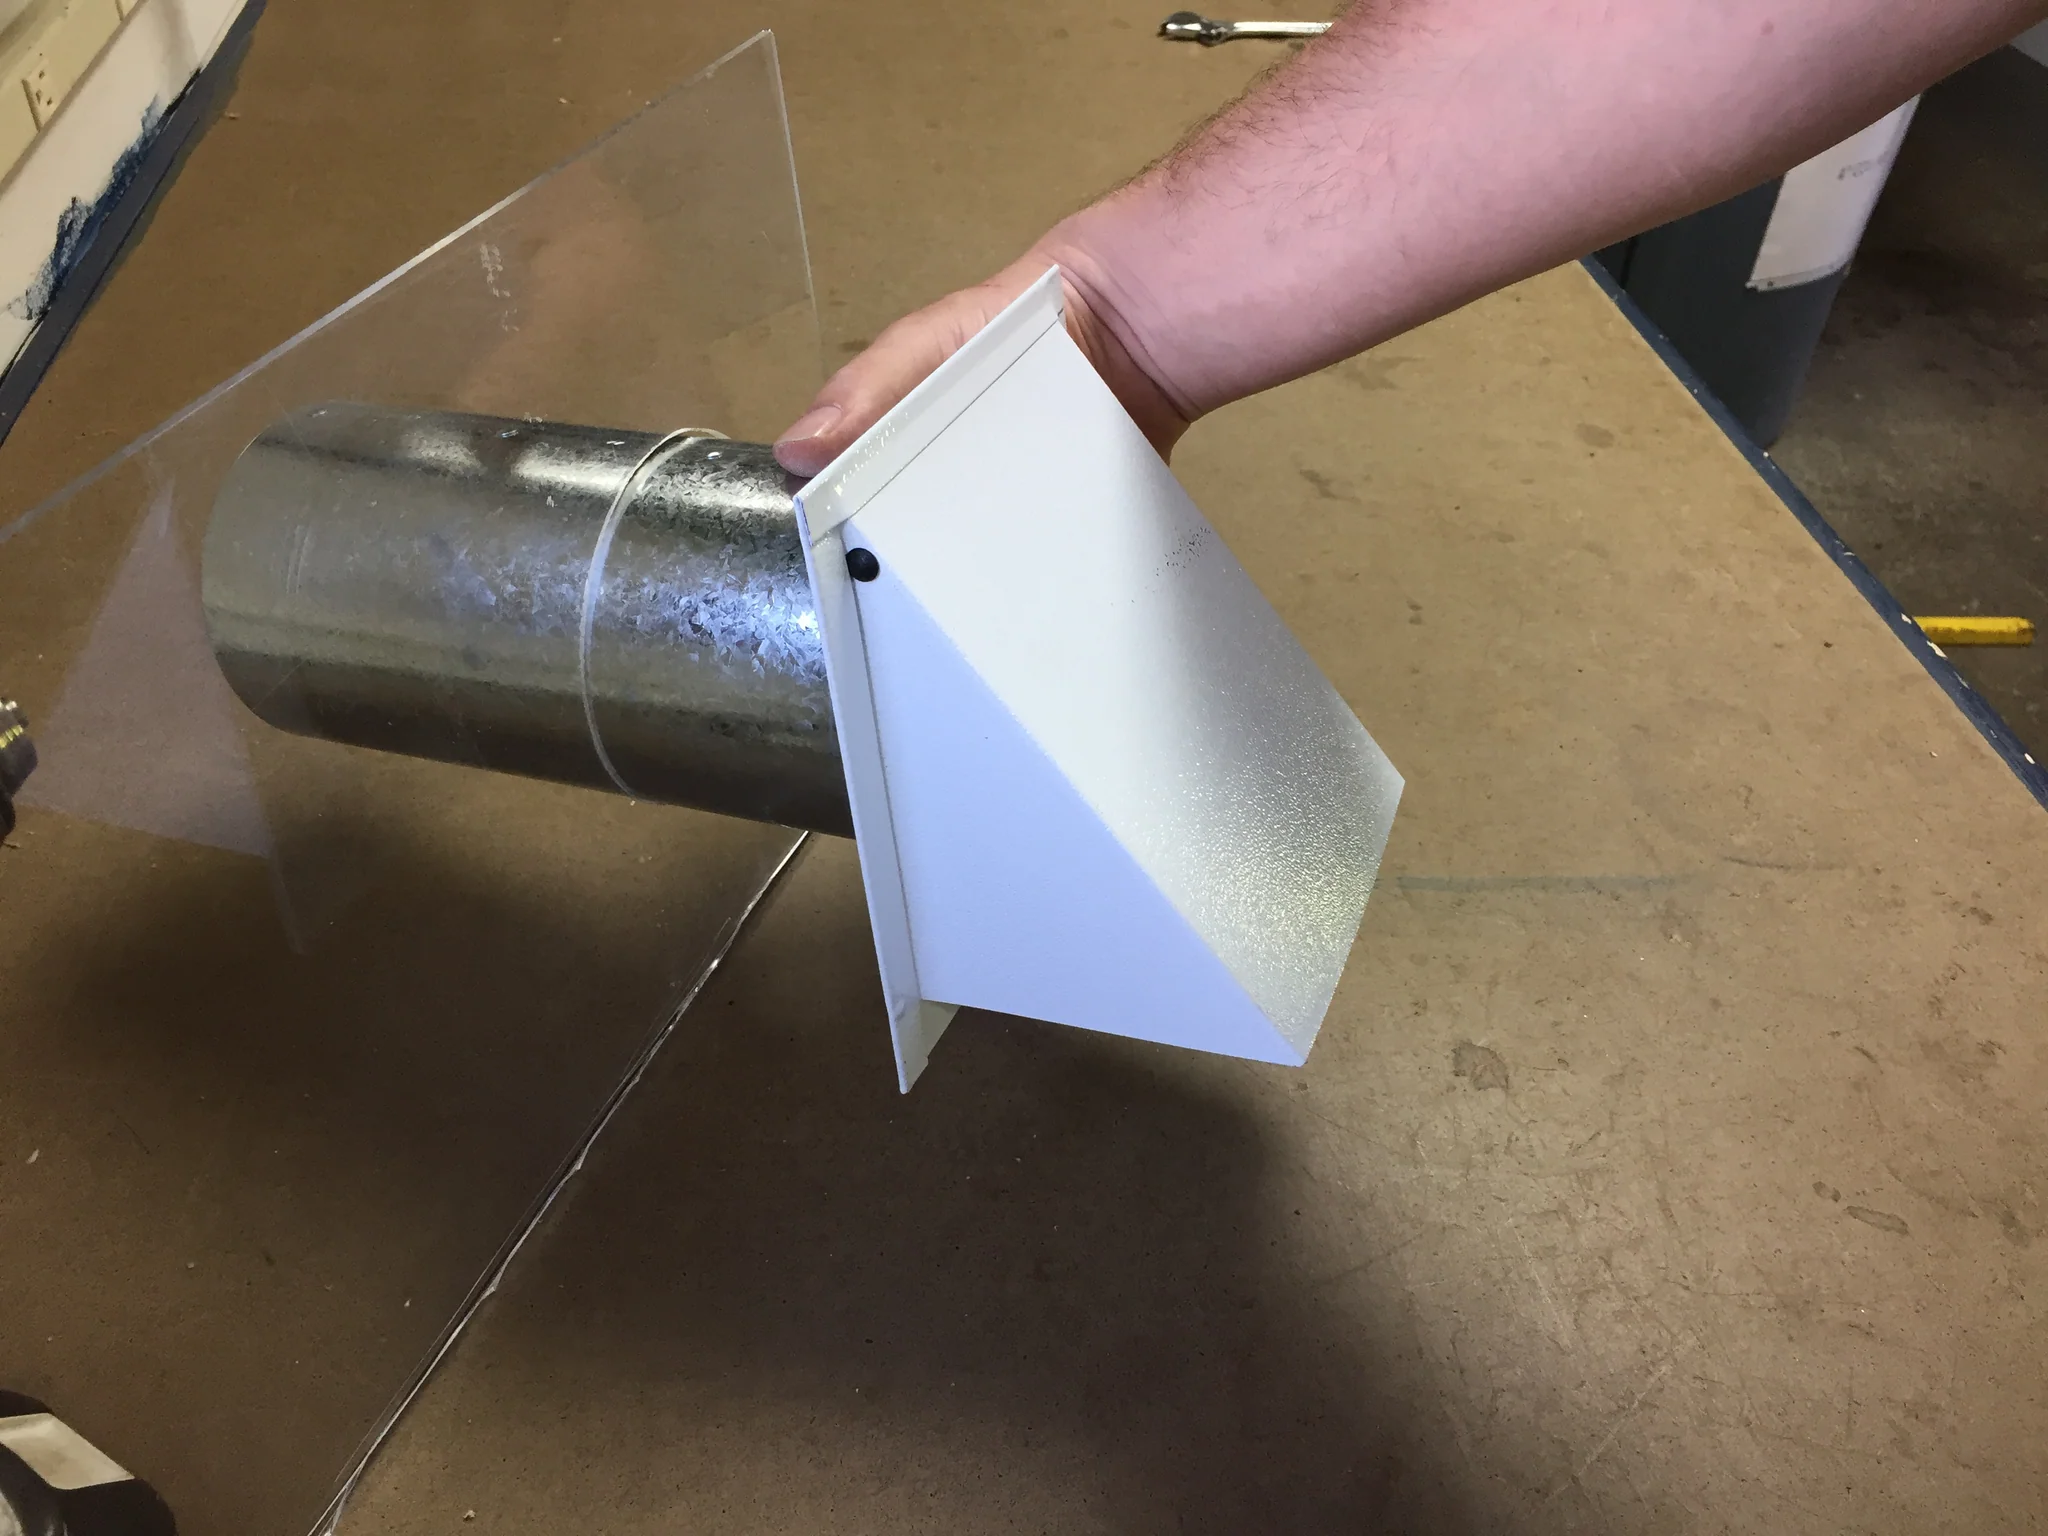
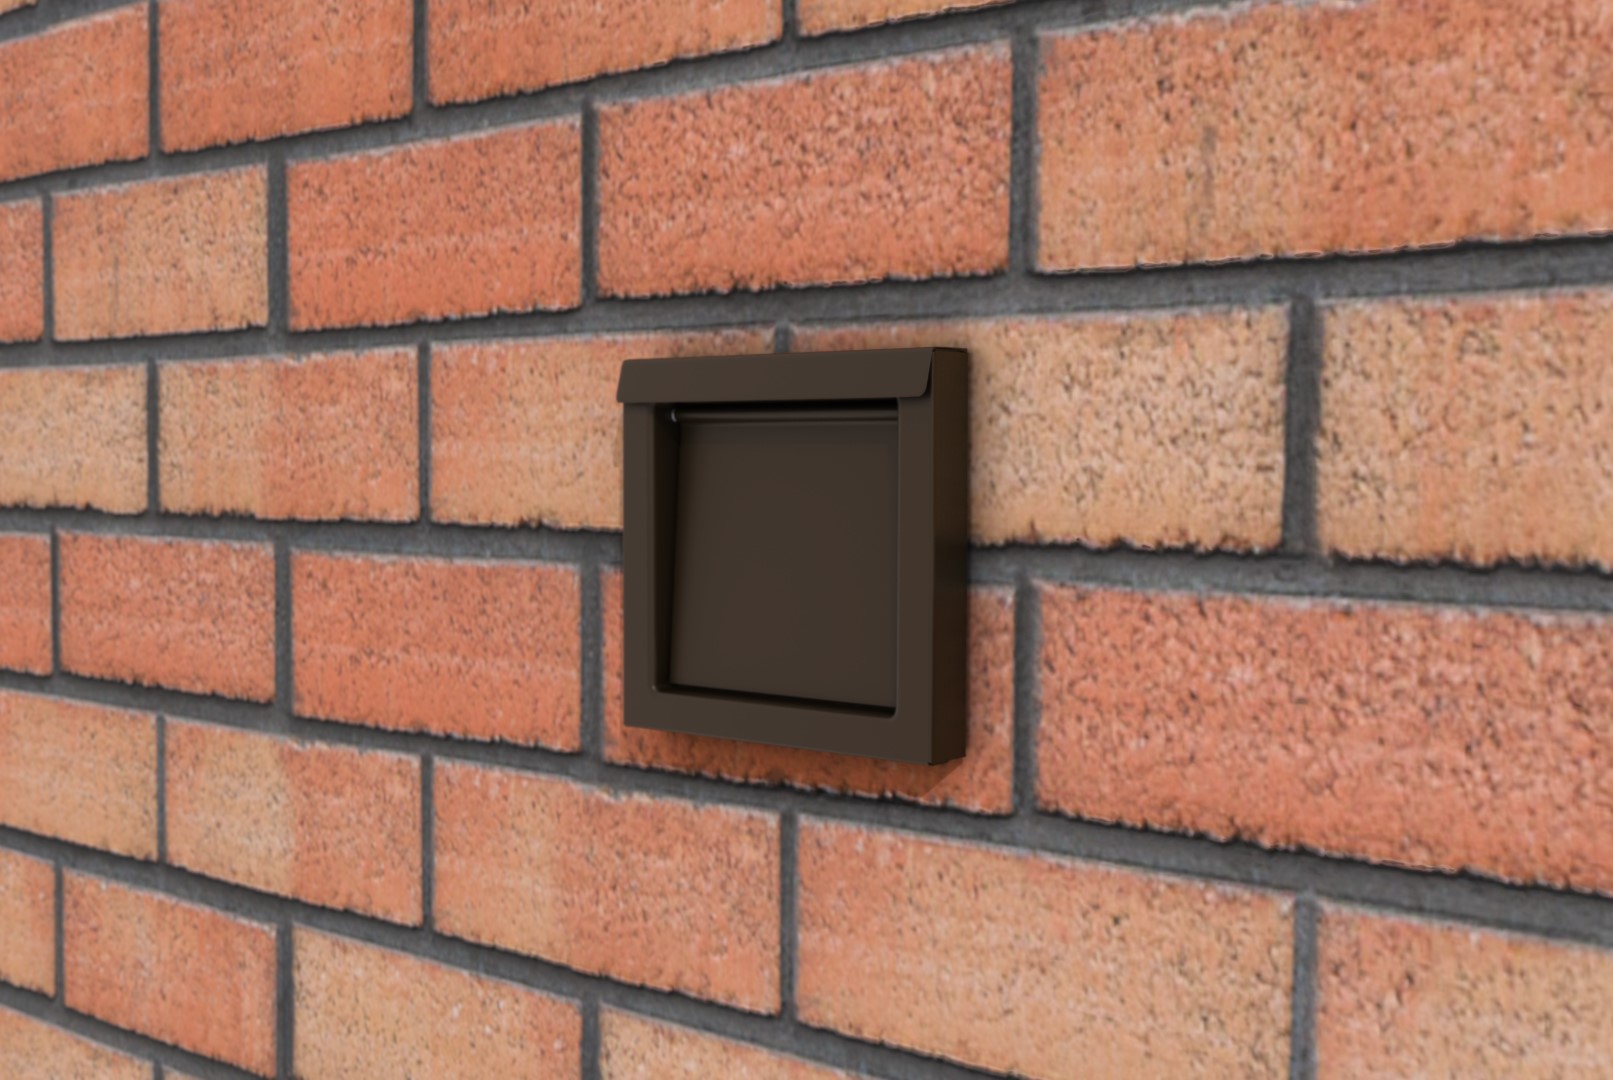
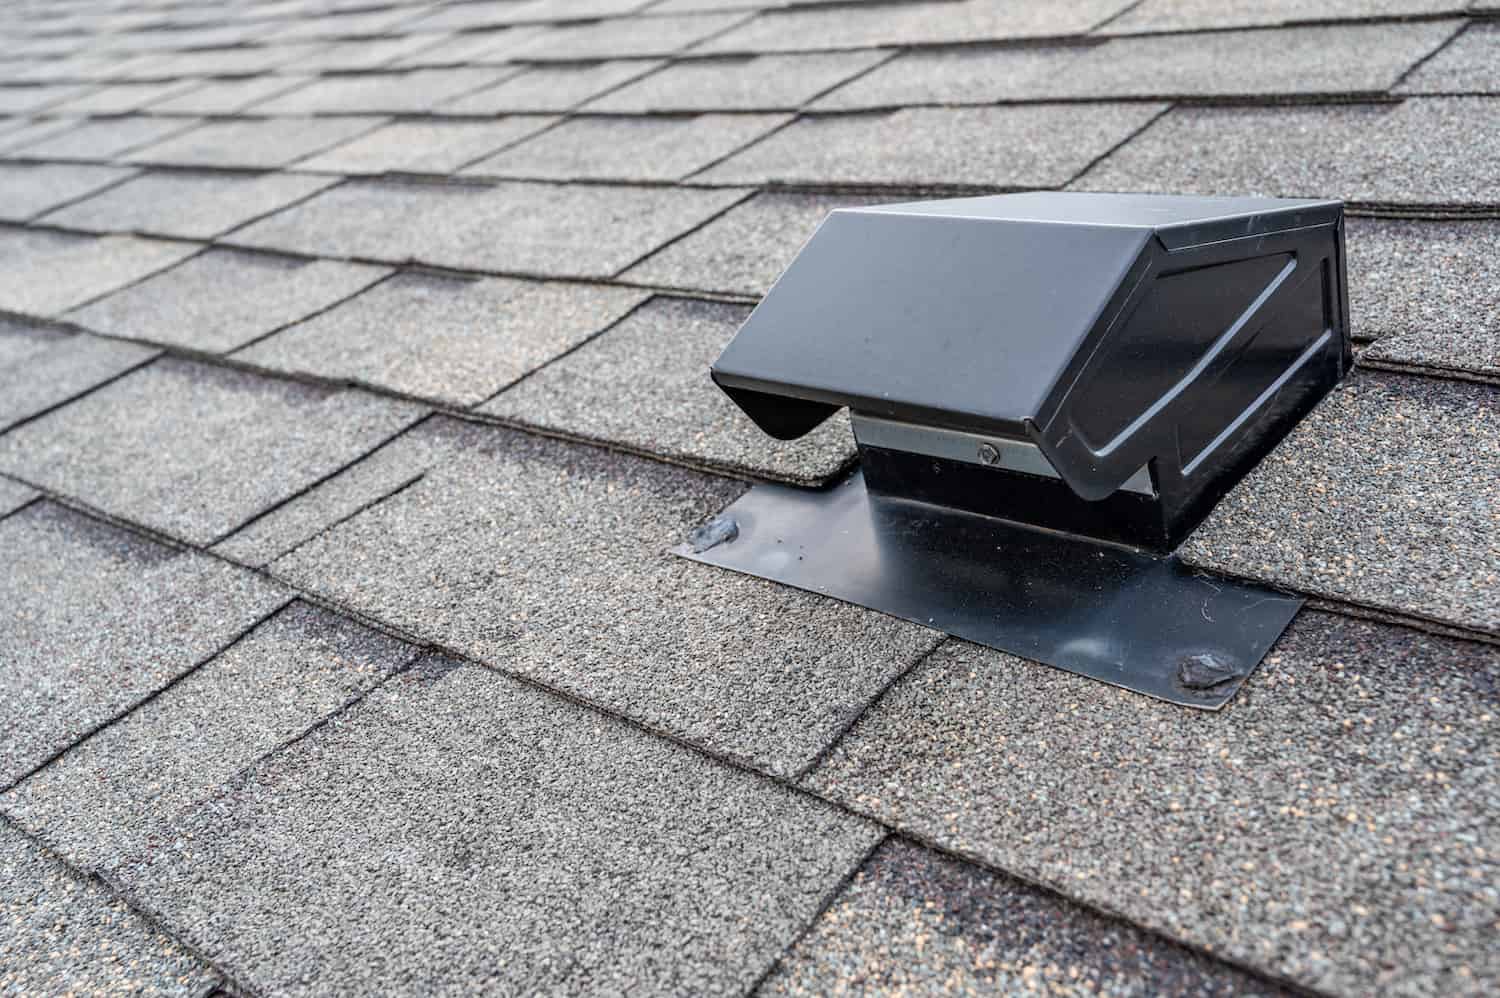
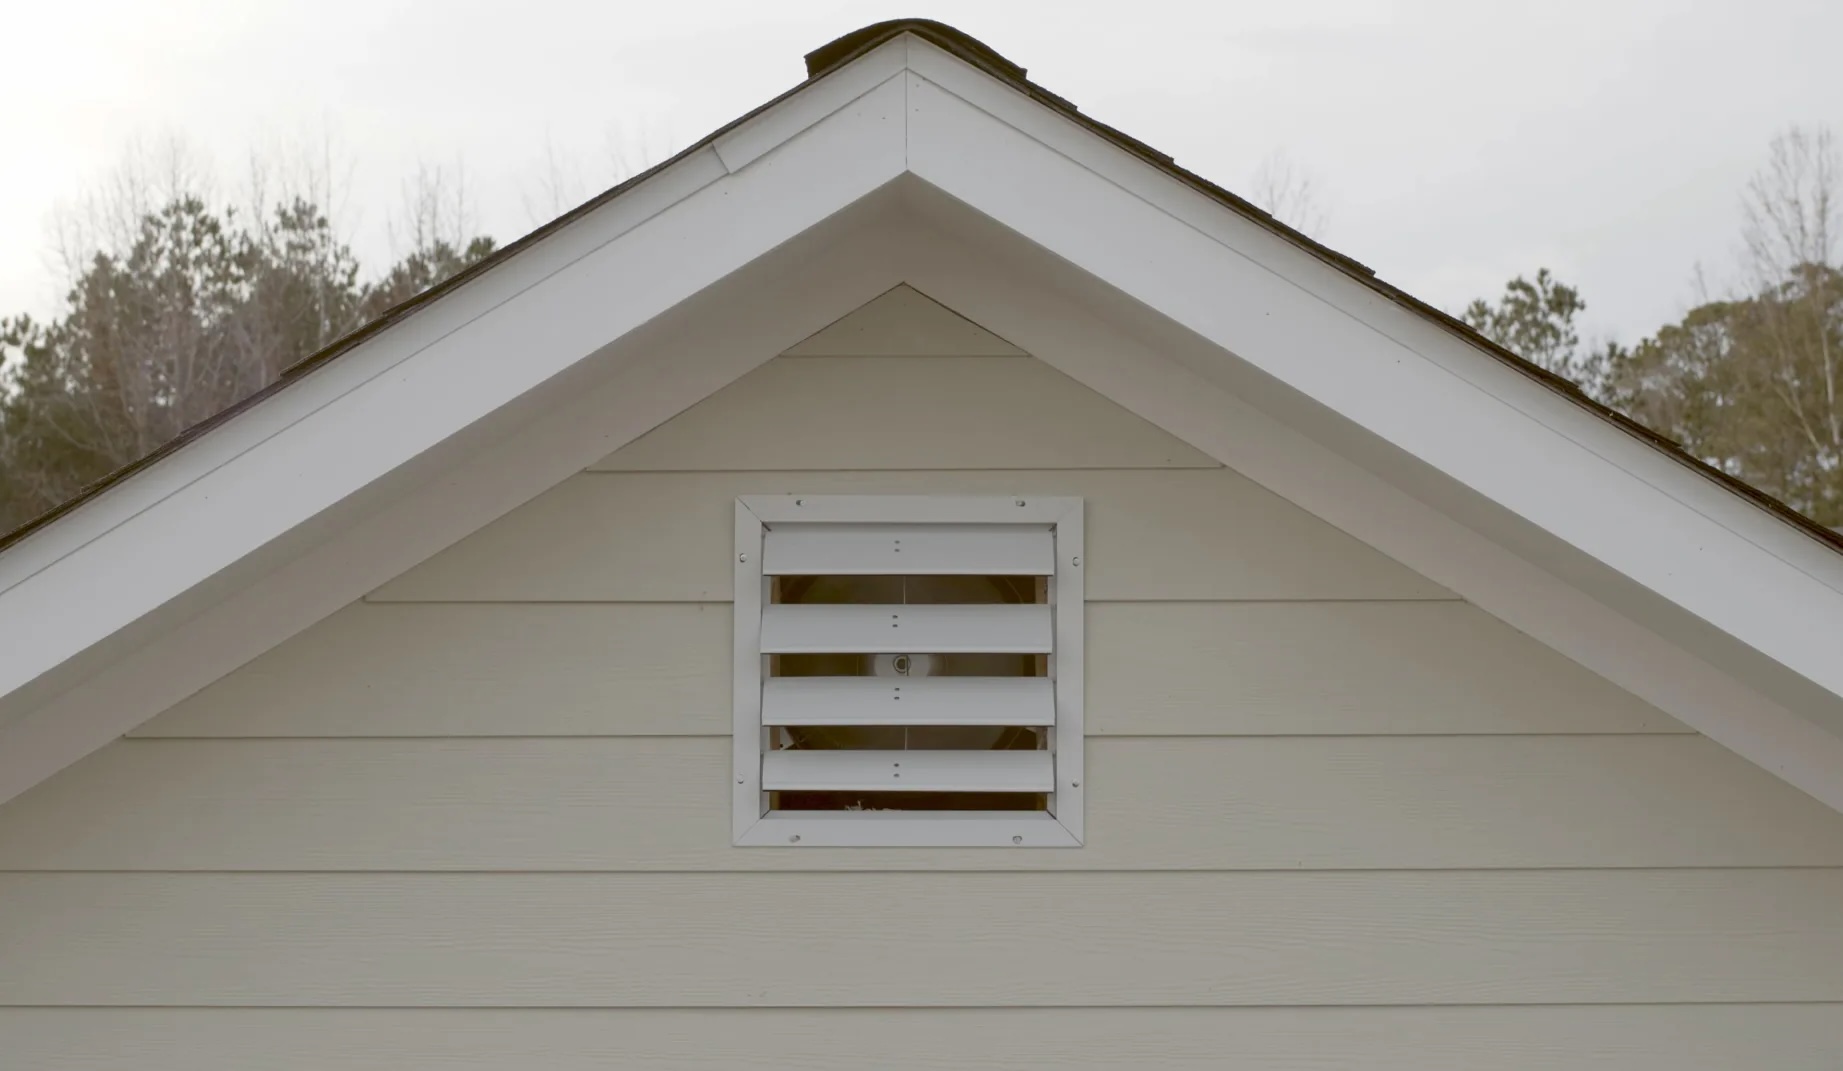
Step 6: Secure the Vent Cover
Securing the vent cover to the exterior wall is an essential step in completing the installation of your dryer vent. Follow these steps to ensure that the vent cover is properly installed:
- Attach the vent cover to the exterior wall using screws: Place the vent cover over the opening on the exterior wall, aligning it with the vent duct. Use screws that are appropriate for outdoor use and secure the vent cover in place. Ensure that the screws are firmly tightened to hold the cover securely.
- Ensure it is properly sealed and tightly secured: After attaching the vent cover, check for any gaps or openings between the cover and the wall. These gaps can allow pests, debris, or moisture to enter the vent system. Use sealant or weatherproofing material to seal any gaps and ensure a tight seal.
Properly securing the vent cover is important for preventing the entry of pests, protecting against weather elements, and maintaining the integrity of the vent system. Take the time to double-check the tightness of the screws and the overall seal of the vent cover.
With the vent cover securely in place, you’re now ready to move on to the next step: connecting the dryer to the vent.
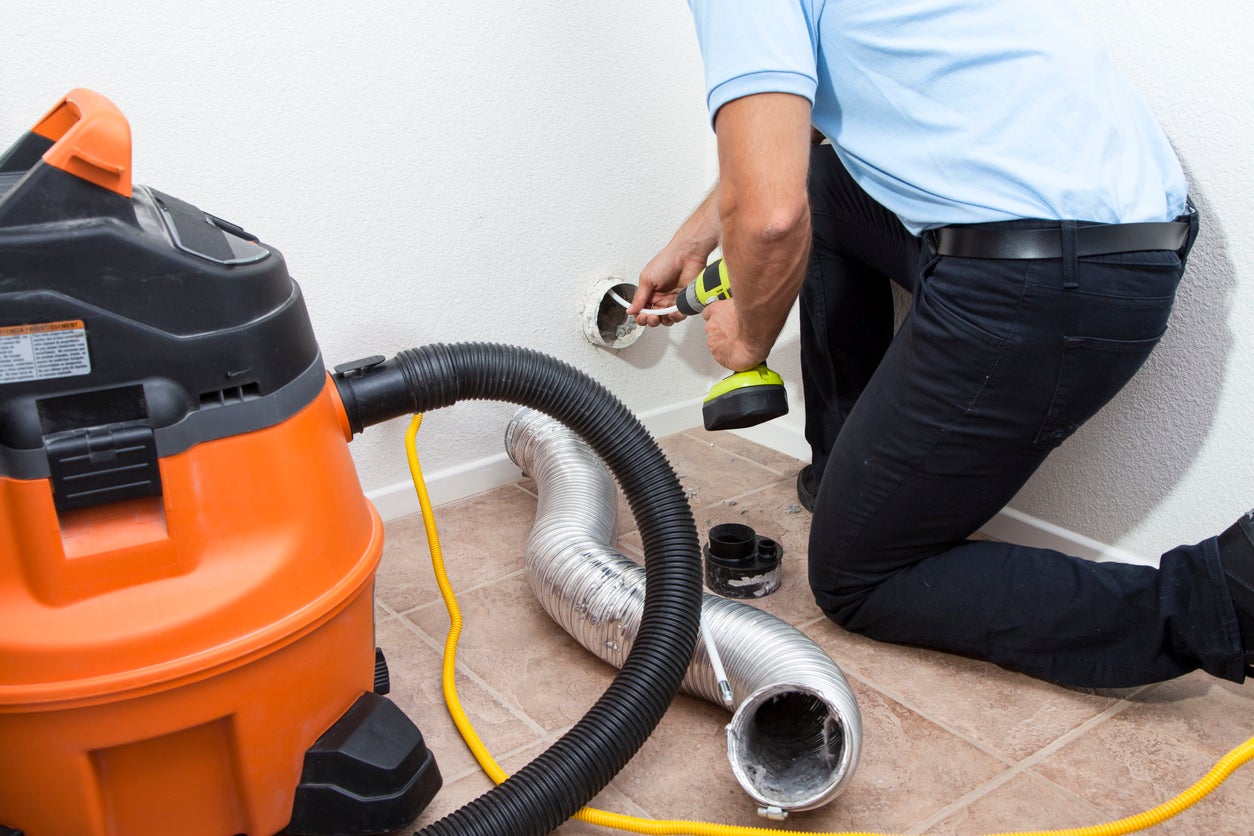
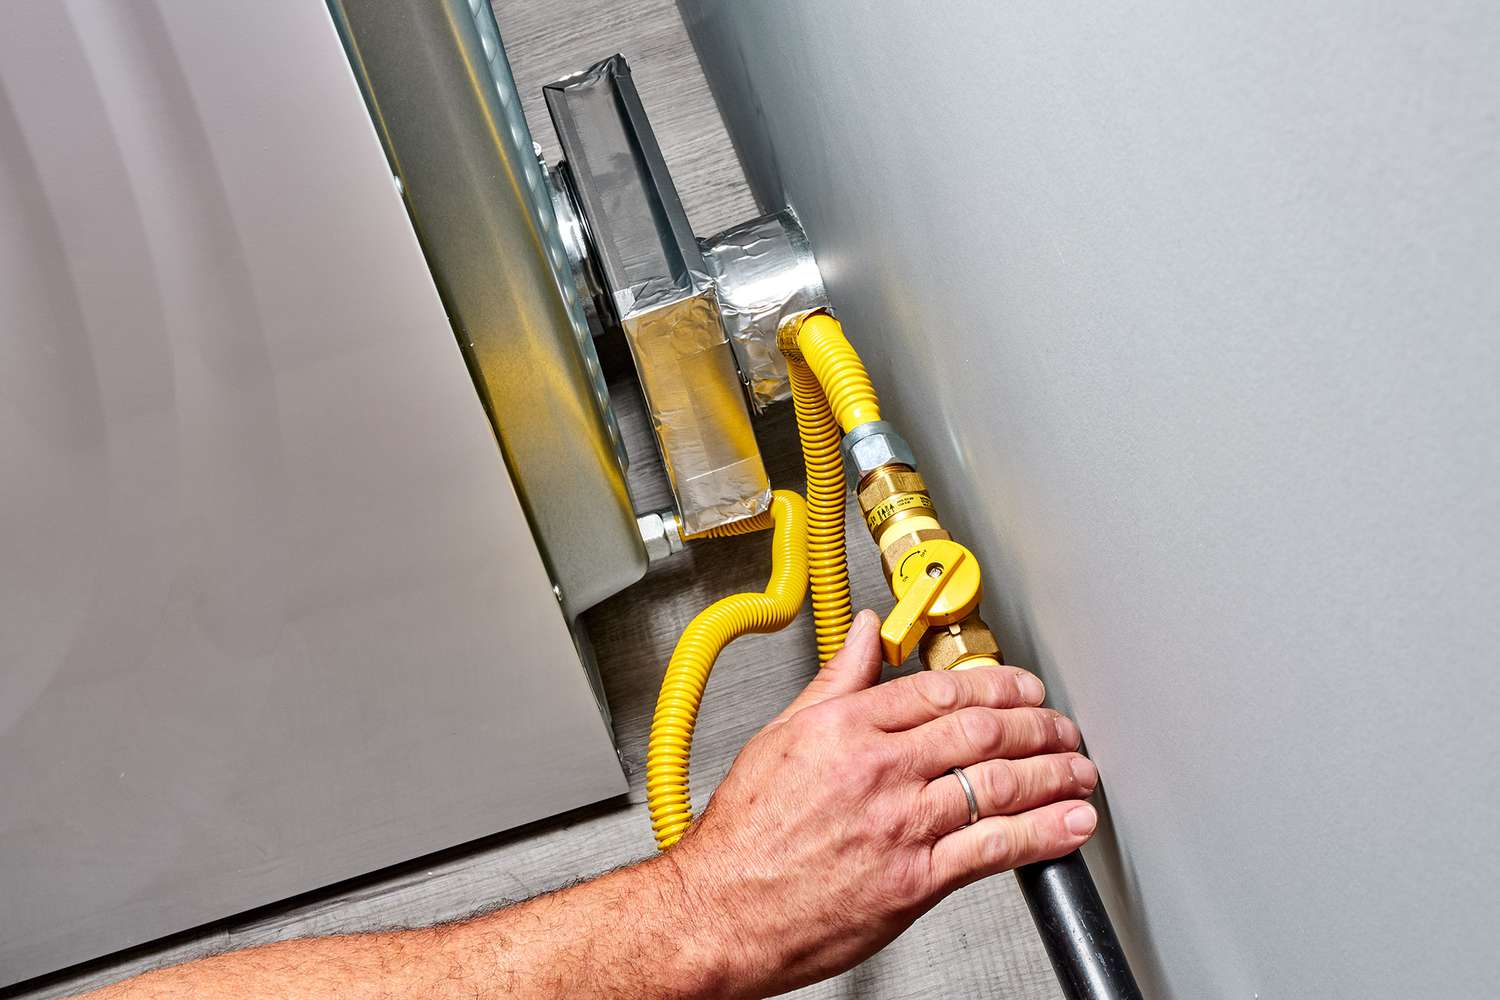
Step 7: Connect the Dryer to the Vent
Connecting your dryer to the vent is the final step in the installation process. Follow these steps to ensure a proper and secure connection:
- Place the dryer close to the vent opening: Position your dryer in close proximity to the vent opening on the wall. This will make it easier to connect the vent duct to the back of the dryer.
- Attach the vent duct to the back of the dryer: Take the end of the vent duct and securely attach it to the dryer’s vent outlet. Make sure the connection is tight to prevent any air leaks.
When attaching the vent duct to the dryer, check for any manufacturer’s guidelines or specifications regarding the type of connection required. Some dryers may require clamps or additional attachments to ensure a secure connection.
Once you have connected the dryer and the vent duct, it’s important to check for any gaps or loose connections. Make sure that the vent duct is properly aligned with the dryer’s vent outlet to ensure a smooth and efficient airflow.
Congratulations! You have successfully connected your dryer to the vent. Now, it’s time for the final step: testing and inspecting the installation.
Step 8: Test and Inspect
Once you have completed the installation of your dryer vent, it’s crucial to test and inspect the system to ensure proper ventilation and identify any potential issues. Follow these steps to test and inspect the installation:
- Turn on the dryer and check for proper ventilation: Start by turning on the dryer and closely observe the vent system. Check for strong airflow coming out of the vent cover on the exterior wall. A lack of airflow or weak airflow could indicate a restriction or blockage in the vent duct.
- Inspect all connections for any leaks or gaps: Take the time to inspect all the connections, including the connection between the vent duct and the dryer as well as the vent cover on the exterior wall. Look for any signs of leaks or gaps that could potentially allow air to escape or pests to enter. Ensure that all connections are secure and properly sealed.
If you notice any issues during the testing and inspection process, it’s important to address them promptly. Check for any lint accumulation in the vent duct and remove it if necessary. Additionally, make sure that the vent cover is free from any obstructions and functioning properly.
Regular maintenance and cleaning of the dryer vent system are essential to ensure its continued efficiency and safety. Follow the manufacturer’s guidelines for cleaning and inspecting the vent periodically to prevent the build-up of lint and minimize the risk of fire hazards.
By testing and inspecting your dryer vent installation, you can guarantee optimal airflow and peace of mind, knowing that your dryer is properly vented.
Congratulations! You have successfully installed a dryer vent. Enjoy the benefits of a well-ventilated laundry area and efficient dryer performance.
Read more: How To Install Dryer Vent In Wall
Conclusion
Installing a dryer vent is a crucial step in ensuring the safe and efficient operation of your dryer. By following the steps outlined in this guide, you can confidently install a dryer vent in your home and enjoy the benefits of proper ventilation.
From gathering the necessary materials to testing and inspecting the installation, each step plays an important role in creating a functional and reliable vent system. Remember to prioritize safety throughout the process and consult professionals if you are unsure about any aspect of the installation.
A properly installed dryer vent helps to prevent lint buildup, improves drying efficiency, and reduces the risk of fire hazards. Adequate airflow not only extends the lifespan of your dryer but also maintains the quality and freshness of your laundry.
Regular maintenance, including cleaning and inspecting the vent system, is crucial. Ensure that the vent cover is free from blockages, and periodically remove any lint or debris that may accumulate in the vent duct. This will help maintain optimal performance and minimize the risk of any vent-related issues.
By following the steps outlined in this guide and properly caring for your dryer vent, you can enjoy peace of mind and efficient laundry drying for years to come.
Thank you for reading, and we hope this guide has been helpful in your dryer vent installation journey!
Frequently Asked Questions about How To Install A Dryer Vent
Was this page helpful?
At Storables.com, we guarantee accurate and reliable information. Our content, validated by Expert Board Contributors, is crafted following stringent Editorial Policies. We're committed to providing you with well-researched, expert-backed insights for all your informational needs.

0 thoughts on “How To Install A Dryer Vent”